
What the Allow & block lists do
The lists on Allow & block act before any other check:
| List | Group | Effect |
|---|---|---|
| Whitelisted IPs | Allowed | Mail from these IP addresses bypasses filtering. |
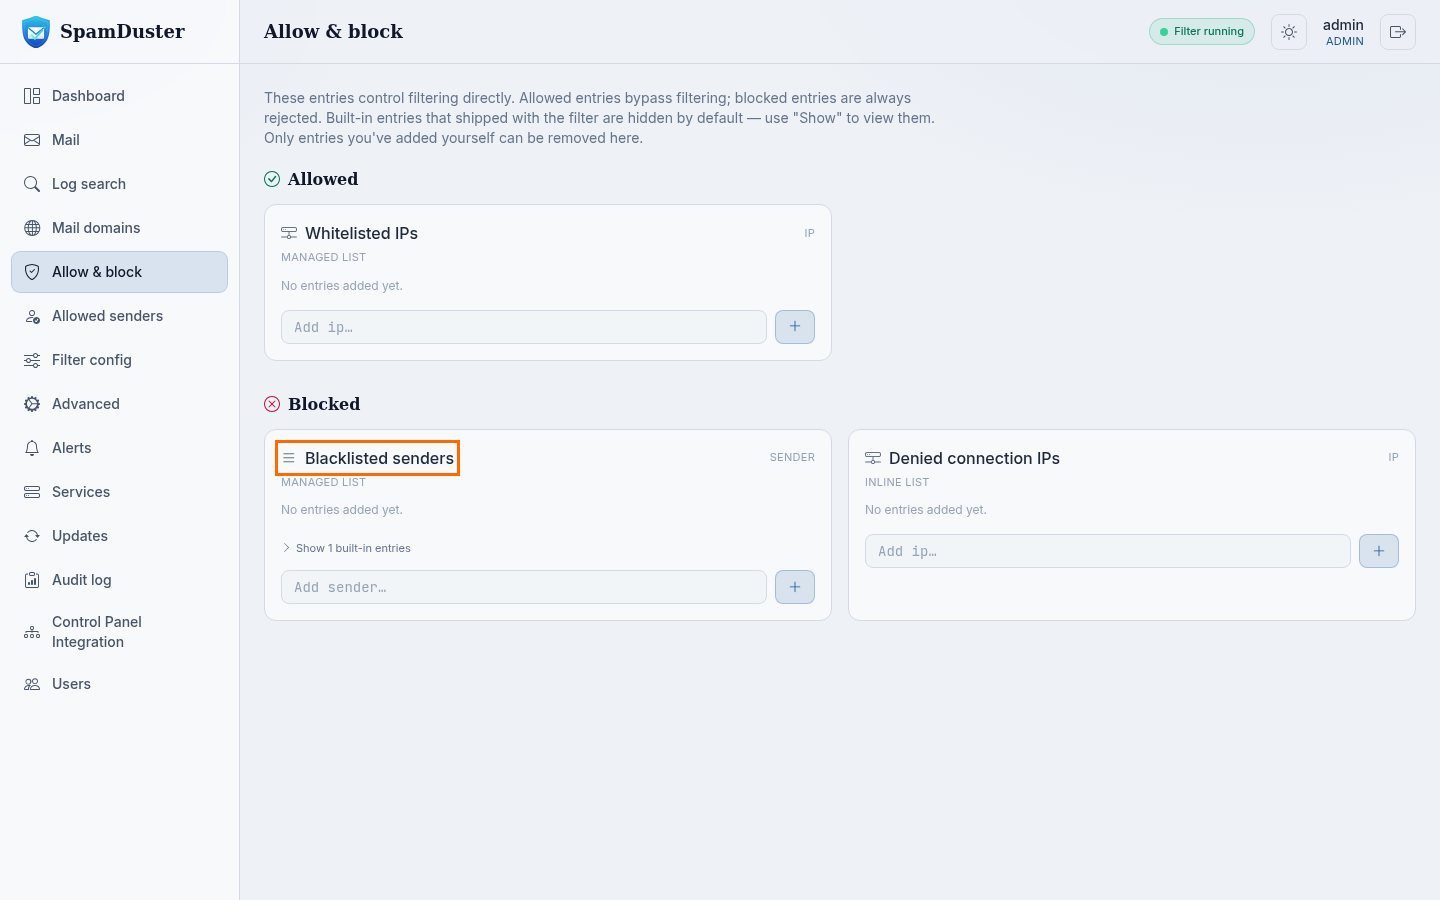
| Blacklisted senders | Blocked | Mail from these senders is always rejected. |
| Denied connection IPs | Blocked | Connections from these IP addresses are always refused. |
Block a sender
- In the console, open Allow & block.
- Under Blacklisted senders, type the address, for example
[email protected], or the domain, for examplepromo.example, in Add sender…. - Select +.
Block an IP address
- In Allow & block, type the IP address in Add ip… under Denied connection IPs.
- Select +.
Remove an entry
Select the × (Remove) next to the entry. Only entries you added yourself can be removed. Entries that came with the filter are hidden by default; select Show … built-in entries under a list to see them.
Allowing a single sender instead
To let mail from one sender skip the spam checks while still scanning it for malware, use Allowed senders rather than Whitelisted IPs. See Allow a sender.
Updated 2026-10-26Need help? Open a ticket in the billing portal.