
Why SpamDuster needs your domain list
SpamDuster accepts and filters mail only for the domains listed on Mail domains. Mail addressed to any other domain is refused, which stops anyone using your filter as an open relay. A domain must be listed before its mail can reach your destination server.
A domain is never refused: you can add domains beyond what your plan includes, and a domain expansion pack covers them (automatically if Add capacity automatically is on). See SpamDuster Cloud plans.
Add a domain
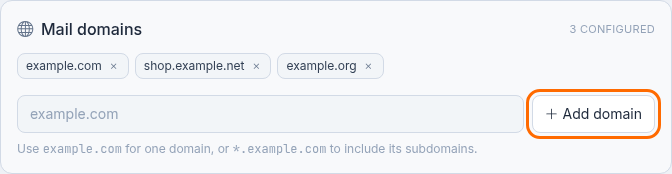
- In the console, open Mail domains.
- Type the domain, for example
example.com, in the box under the list. - Select Add domain.
The domain appears in the list straight away and the filter starts accepting its mail.
Include subdomains
To accept mail for every subdomain of a domain, add it with a leading *.. For example, *.example.com covers
sales.example.com and eu.example.com. Add example.com as well if mail also goes to addresses directly at
example.com.
Remove a domain
Select the × next to the domain and confirm. SpamDuster stops accepting mail for that domain at once, so remove a domain only after its MX records point somewhere else.
Domains from a control panel
If you connected a hosting control panel, its domains are added and removed automatically and are marked as coming from the panel. You cannot remove those domains on Mail domains; remove them in the control panel instead. See Connect a hosting control panel.