
What allowing a sender does
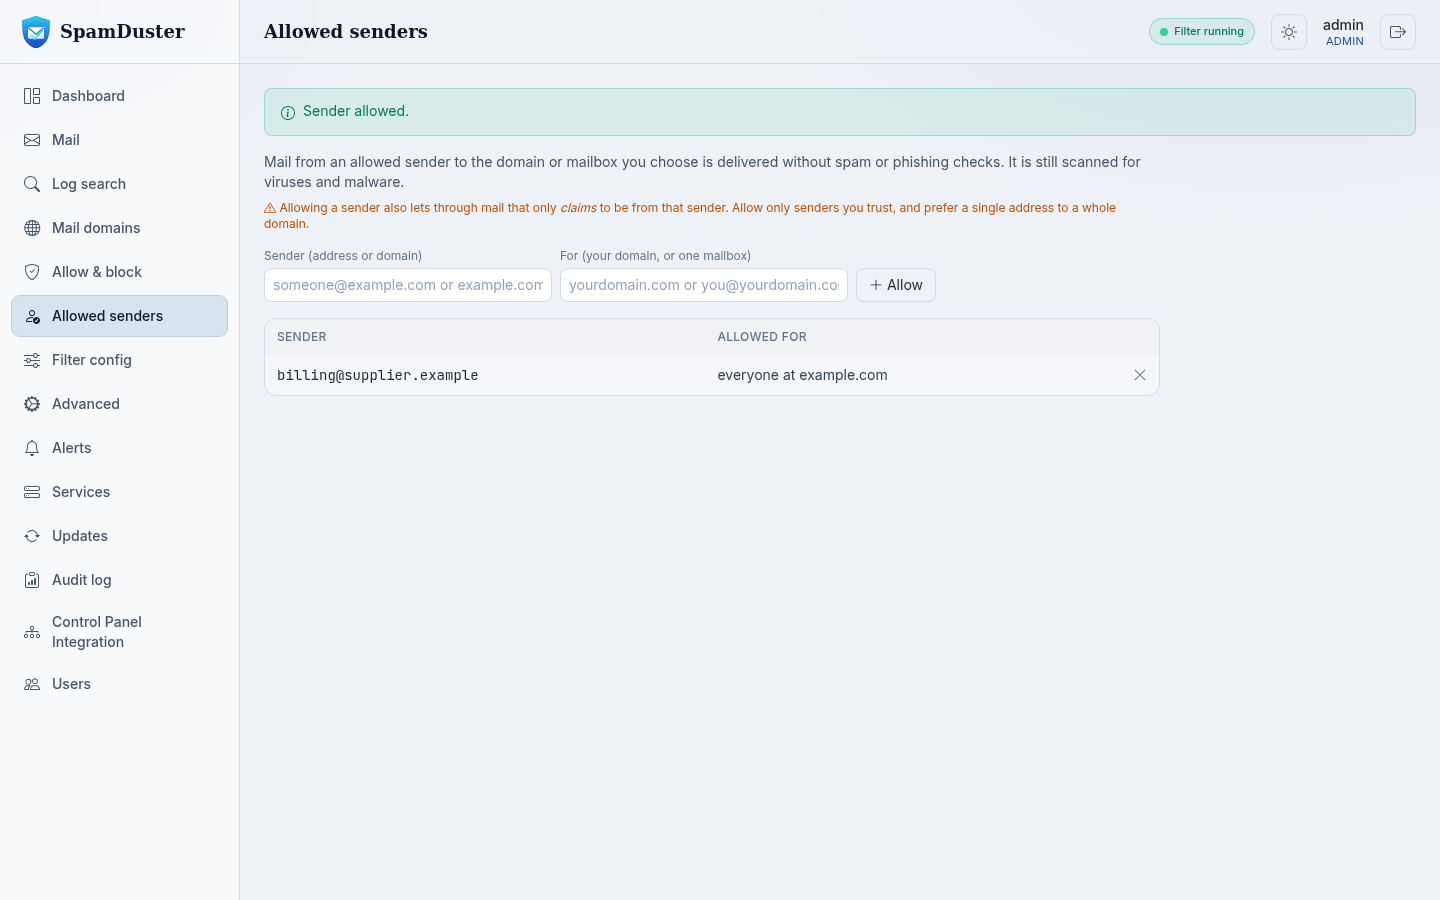
Mail from an allowed sender to the domain or mailbox you choose is delivered without spam or phishing checks. It is still scanned for viruses and malware.
Allow only senders you trust. Allowing a sender also lets through mail that only claims to be from that sender, so prefer a single address to a whole domain.
Allow a sender
- In the console, open Allowed senders.
- In Sender (address or domain), enter the address, for example
[email protected], or a domain, for examplesupplier.example. - In For (your domain, or one mailbox), enter one of your domains, for example
example.com, or one mailbox, for example[email protected]. - Select Allow.
Remove an allowed sender
On Allowed senders, select the × (Remove) at the end of the sender's row. Its next messages are checked as usual.
Allow a sending server by IP address
To let all mail from one sending server's IP address bypass filtering, add the address to Whitelisted IPs on Allow & block. Use this only for servers you control, such as your own application servers. See Block senders and IP addresses.
Updated 2026-10-26Need help? Open a ticket in the billing portal.